

How to find your way around the VocalLabs dashboard
Recorded once, then narrated, zoomed and captioned by Explaino.
Follow along
scroll to advanceLet's get started with today's session. This is the VocaLabs login screen.
- 1
Today, we'll learn how to log in and do the basic things in Voca Labs
So once you get the login details, just add your number here. And then you can click on generate OTP. You'll get an OTP on your number, or if you've set up a passkey, you can log in with that. I've already set a passkey for my login, so I'm just logging in with it now. Once you're logged in, this is the homepage. Here you'll see basic information like the account name, total agents, total campaigns, total calls, and other details, plus recent call history.
- 2
So now we have this Agent Studio option
This is our main area where we usually create agents. When creating an agent, we have four main options. First, you can start from scratch. With this, you'll get a blank page. You can name your agent here. You can select the industry and the use case. If you prefer not to select these, you can continue without anything, and just create and test it. Another option is to create from audio. If you have audio files with you, these are the supported file types. You can upload the recordings, and it will give you a ready-to-use agent. Next, we have the create from template option.
- 3
We have built-in templates available
You can select a template for your use case, and then create the agent. And finally, we have the advanced agent option. Here you can select the use case and, in real-time, create any agent you need for it. So now, after creating... ...is how you can create your agents. Here, you can access basic filters. You can see all your agents in one place. You can also select favorites. If you mark something as a favorite, it'll give you a list of your favorite agents, and you can access them here. Next, we have the production agent section. Once you put any agent into production...
- 4
...from development
After moving it to production, you won't be able to make any further changes, so this list shows all your production-ready agents. Next, we have conversation and broadcasting agents. Basically, our platform has two kinds of agents. One is a conversation agent, which can interact with a user. The other is a broadcast agent. If you want to deliver a message to your end users, you can create a broadcasting agent. I'll show you later how to create both conversation and broadcasting agents. And here, you can access credit reports. If you need to see a credit report, you can request one, and it will be provided here. Next up is the agent folder option. If you've created many agents, you can click 'create folders' here. You can create folders based on use case or industry, whatever makes sense for you, and then add your created agents to these folders.
- 5
And you can store your agents neatly in your folders
Here, we have templates. As I mentioned earlier, you can select templates here for creating any agent script. Next, we have the QC and evaluations option. QC stands for Quality Control. If you have recordings, you can get reports on all of them here. If you want to conduct any surveys or audits, you can audit calls from here. You can see the audits here. Whatever you've done, you can review it here. If you want to check a new audit, you can select it from here.
- 6
Whether it's audio or a report you're looking for, you can get it from the audit report as well
Here, you can see the audit reports. Here, you can see the audit reports. Next, we have the evals option. In evals, you can evaluate your agents and your campaigns. So, if you've run a campaign, you can evaluate it, or you can evaluate any agent you've created. It provides a survey report showing where to make changes, what outcomes to expect, and where we might be falling short. Everything you need is in one report. So, that's the evaluation part. Next, we have contacts. First, to make calls on our platform, you'll need to save your contacts here.
- 7
You can create groups and save your contacts within those groups
Just remember to save each contact only once, not multiple times. You can select and add a contact. You can enter their name here. You can add their number along with the country code and save it. This is how you add contacts for making calls.
- How to create an AI agent in VocalLabs
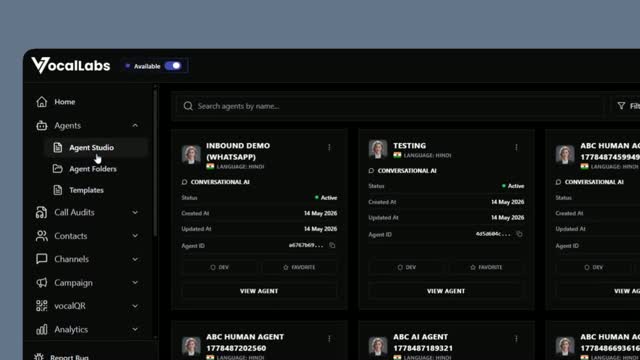 4 steps
- How to build an agent with Flow Builder in VocalLabs
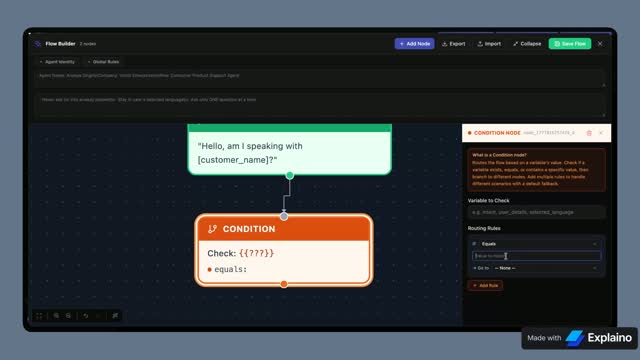 7 steps
- How to buy a phone number for your agent in VocalLabs
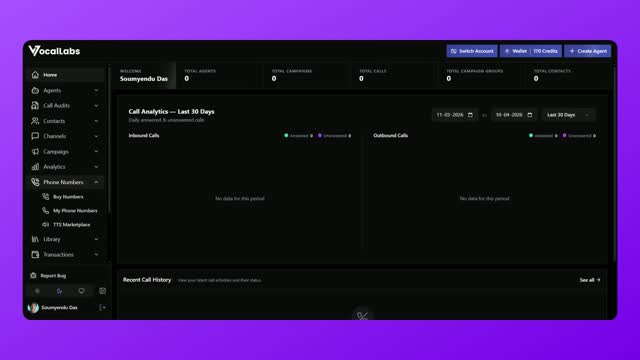 8 steps
- How to set up a broadcasting agent in VocalLabs
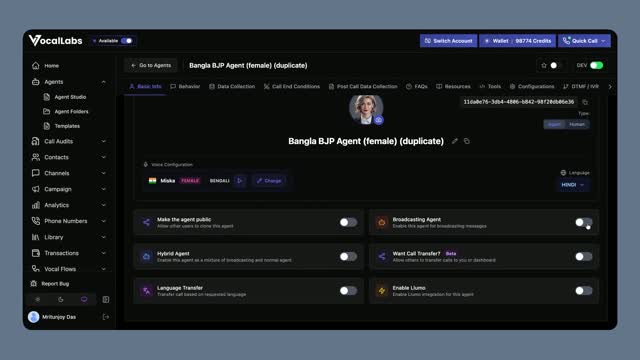 5 steps
- How to launch a calling campaign in VocalLabs
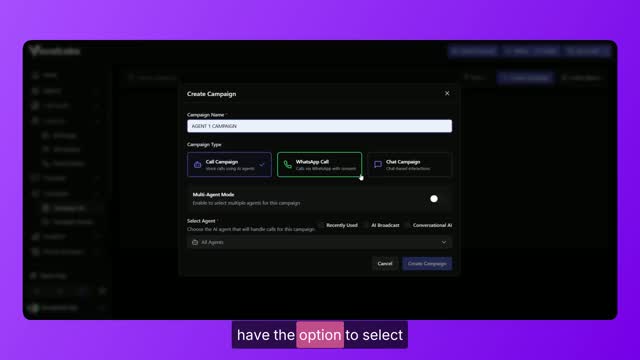 6 steps
- How to add contacts to a campaign in VocalLabs
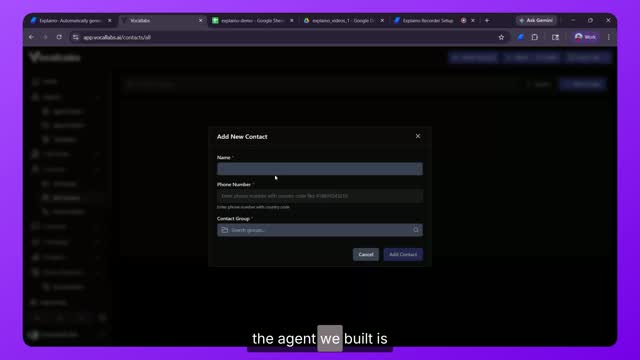 7 steps