

How to set up an outbound calling campaign in VocalLabs
Recorded once, then narrated, zoomed and captioned by Explaino.
Follow along
scroll to advanceto VocalLabs. Let's set up an outbound calling campaign from start to finish. We begin in the sidebar, expanding the Campaign menu to reach the campaigns area of the platform.
- 1
From the menu we open the Campaign List, where every campaign you've built is gathered in one place
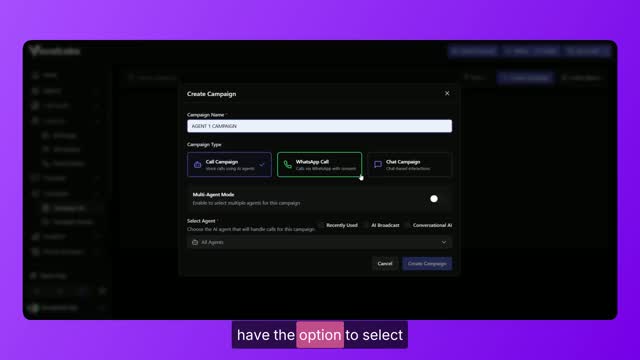
Here the Create Campaign button opens a short form: you give the campaign a name, then pick the AI agent that will handle the conversations, choosing from your recently used agents or the full agent list. These two choices, the name and the agent, define a new campaign at this stage. Everything else, from the prospect data to the calling rules, is configured afterwards inside the campaign itself, which is exactly where we're heading next.
- 2
Closing the dialog, we return to the campaign list and head into a campaign's own workspace, wher
- 3
Next, the Upload option
This is where the Excel sheet of prospect data goes, so the agent has the names and phone numbers it needs to start dialling through the queue.
- 4
Closing the upload panel, we move to Settings, the tab that holds the behavior of the campaign it
- 5
Scrolling through, you can review campaign log settings, call settings, and the maximum retry att
- 6
Finally, back at the top, the status toggle flips the campaign from Inactive to Active, and that'
- How to create an AI agent in VocalLabs
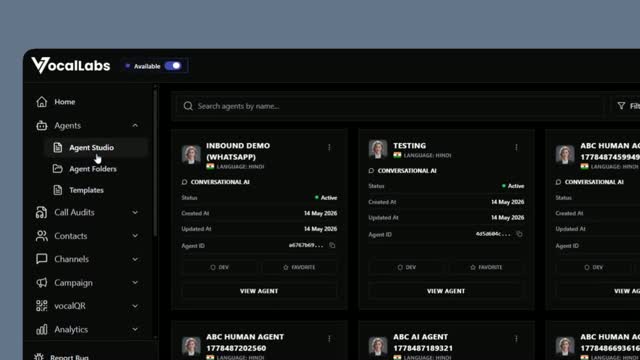 4 steps
- How to build an agent with Flow Builder in VocalLabs
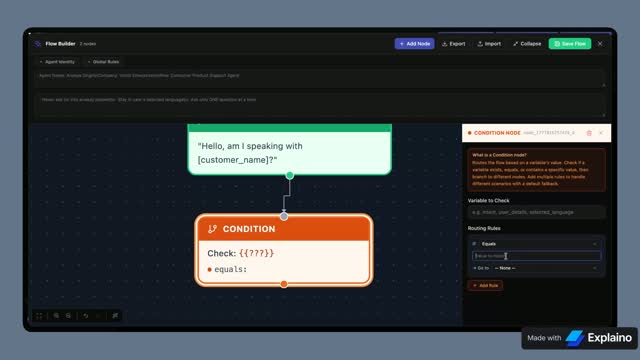 7 steps
- How to buy a phone number for your agent in VocalLabs
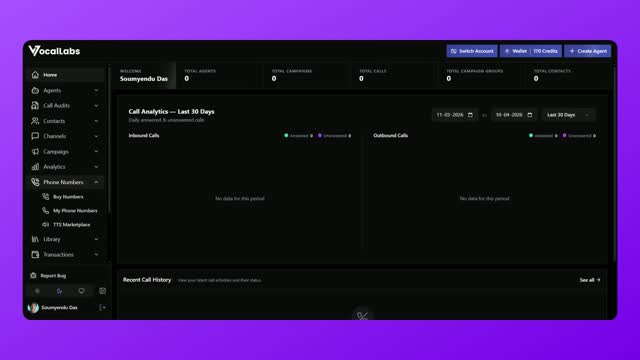 8 steps
- How to set up a broadcasting agent in VocalLabs
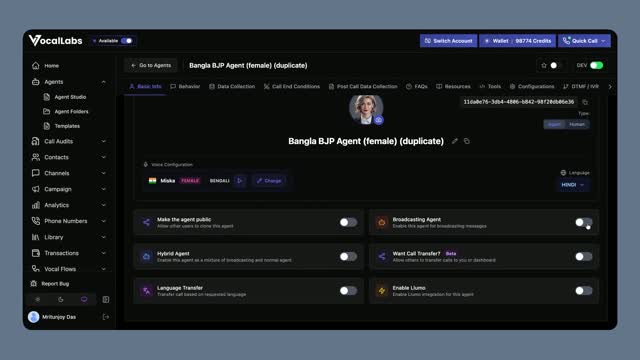 5 steps
- How to launch a calling campaign in VocalLabs
 6 steps
- How to add contacts to a campaign in VocalLabs
 7 steps